

Short answer
Before you start
- A verified YouTube channel with no live streaming restriction in the past 90 days, and you must be at least 16
- Your phone nearby for the verification code
- A webcam, or OBS Studio if you'll stream a game or scenes
Bring your setup to a 24/7 AI Streamer Coach
Ask Streamer Coach →Get personalized feedback to fix streaming issues and plan your next content.
Step by step
- 01
Check your channel can go live
YouTube live streaming requirements, reviewed October 9, 2026 ↗YouTube doesn't let new channels stream straight away. Annoying, but it's a quick fix. To stream, YouTube asks you to verify your channel and have no live streaming restriction in the past 90 days. In the video, Nicole opens YouTube Studio, Settings, Channel, Feature eligibility and looks at the second level, Intermediate features: if its requirements show two checkmarks, you're good. If not, YouTube asks you to verify your phone number with a code, and she says the verification is pretty quick. YouTube's current page doesn't name that menu. If you don't see it, look for Verify your YouTube account in YouTube Help (support.google.com/youtube/answer/171664).
What you should see: Intermediate features shows its requirements checked, with live streaming listed as available.
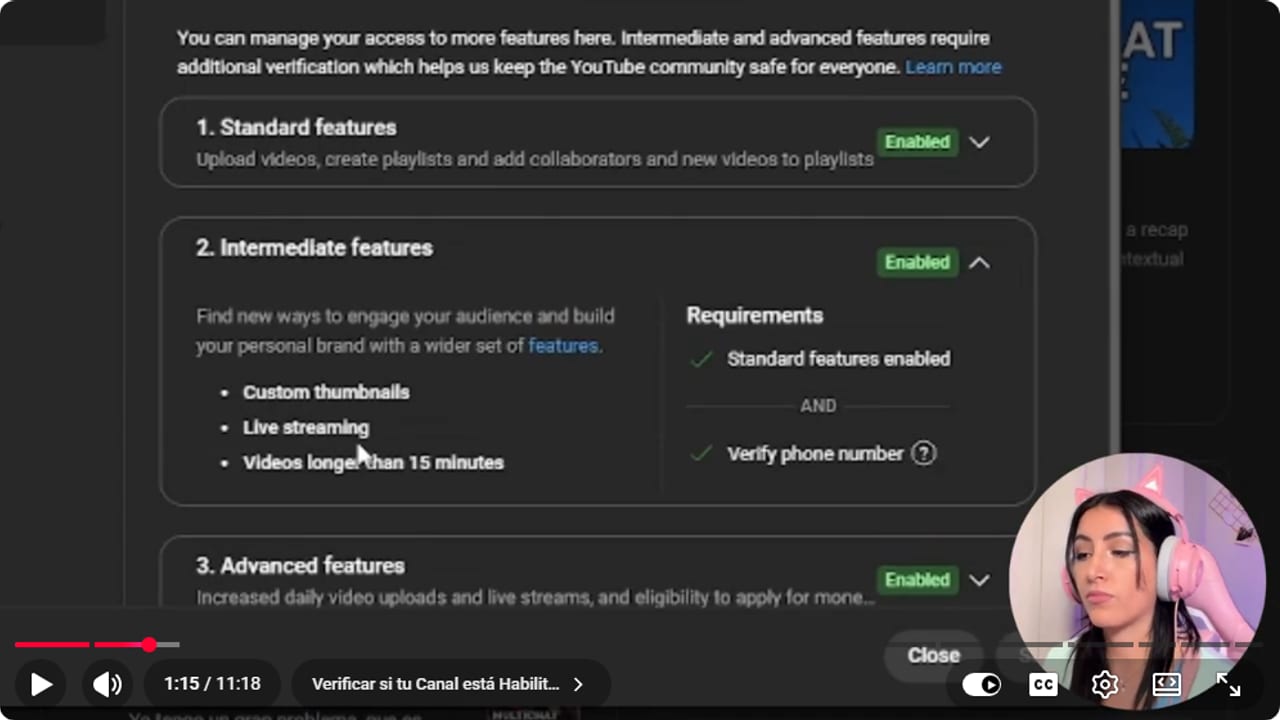
Feature eligibility shows the channel's active level and any remaining verification. YouTube · 1:16 ↗ - 02
Open Create, then Go live
Nicole Rojas · YouTube · 1:31 ↗At the top, click Create, then Go live. Don't panic, you're not live yet. The first time I did it I thought I was, and there was my face. YouTube says hello and asks whether you want to stream now or schedule it. Pick Now for this run. Scheduling comes at the end.
What you should see: YouTube's welcome screen opens with two choices: stream now or schedule for later.
- 03
Pick webcam or OBS
Nicole Rojas · YouTube · 2:01 ↗There are two routes. Webcam is the fastest: it uses your computer's camera and off you go. Streaming software (OBS, Streamlabs or whatever you use) gives you control over your overlay, sound, camera position, game capture and transitions. We'll cover both, starting with webcam.
What you should see: Choosing webcam opens the stream details form, with your camera feed further down the page.
- 04
Fill in the title, description, category and thumbnail
Nicole Rojas · YouTube · 2:32 ↗Write a title that grabs attention but still says what you're streaming. In the description, add what you'll play or talk about, your schedule and your socials. Choose a category (comedy, entertainment, education) and upload a thumbnail. Heads up: live streams take one thumbnail, not the three you can test on regular videos. Add it to a playlist if you like. Further down, set an age restriction if the game needs one (Silent Hill makes you mark it 18+), flag any sponsorship or AI-made content, and add tags with the game, your name and the language.
What you should see: The form shows your thumbnail uploaded, your category chosen and your playlist selected.
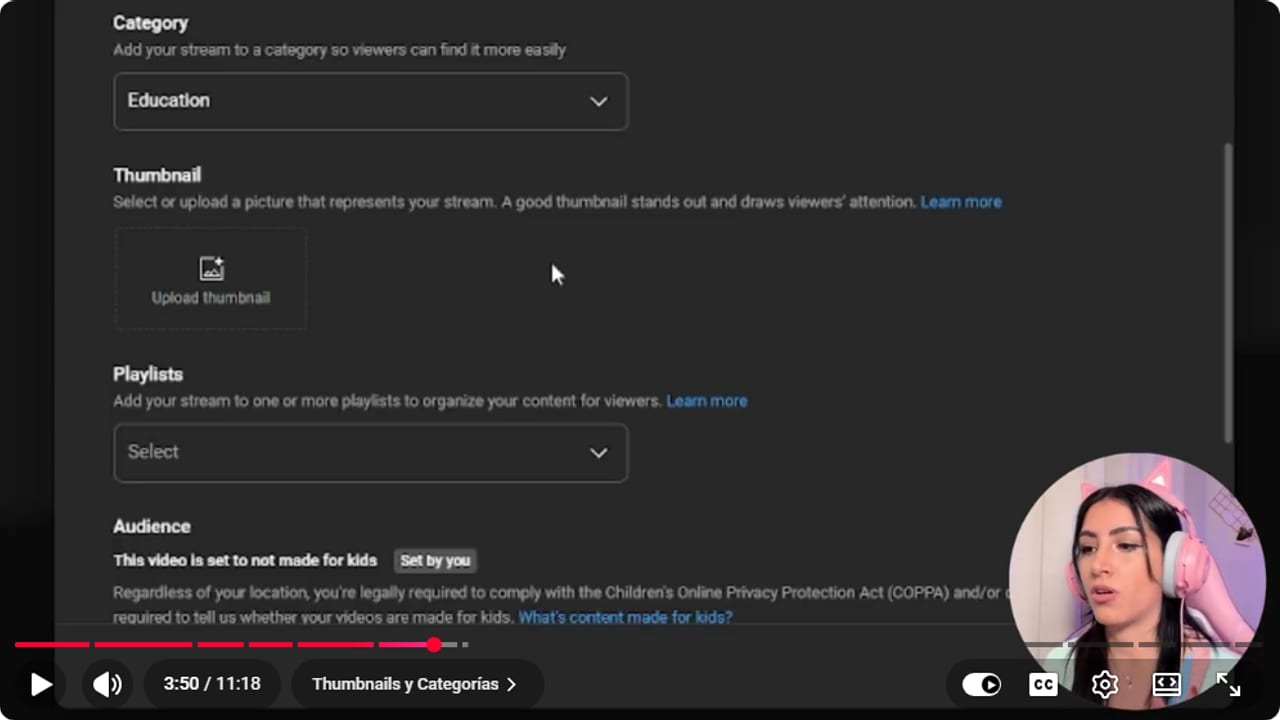
Live details include category, thumbnail, playlist, and audience settings. YouTube · 3:51 ↗ - 05
Set up chat and visibility
Nicole Rojas · YouTube · 4:33 ↗Choose how comments are moderated and whether viewers can see how many people are watching. Click Next to reach the live chat options: subscribers-only chat, live reactions, delayed messages, or slow mode, say 30 seconds when lots of people talk at once. Then, under Visibility, pick Public, Unlisted (only people with the link) or Private (just you). Use Private for a test run.
What you should see: The Visibility screen shows your choice selected, and confirming it brings up the stream preview.
- 06
Check the preview and go live with your webcam
Nicole Rojas · YouTube · 5:34 ↗Before you click Go live, look at the preview: camera, layout and which microphone is selected. In the video the layout can be vertical or horizontal, and YouTube's current page says streams go live in both horizontal (16:9) and vertical (9:16) by default, so the options may look different. When it all looks right, click Go live. If something needs fixing mid-stream, Edit at the bottom changes the title, camera or visibility without stopping.
What you should see: The top of the page shows your live time, viewer count and likes, with mute and share buttons along the bottom.
- 07
Connect OBS with your stream key
Nicole Rojas · YouTube · 7:36 ↗For OBS, take the software route in YouTube and copy the stream key. That key links your YouTube stream to OBS, so don't give it to anyone. If it leaks, click Reset and YouTube issues a new one. In OBS, go to Settings, Stream, change the service to YouTube, paste the key (or connect your account) and click Apply.
What you should see: OBS Settings, Stream shows YouTube as the service, and YouTube opens the stream dashboard with chat.
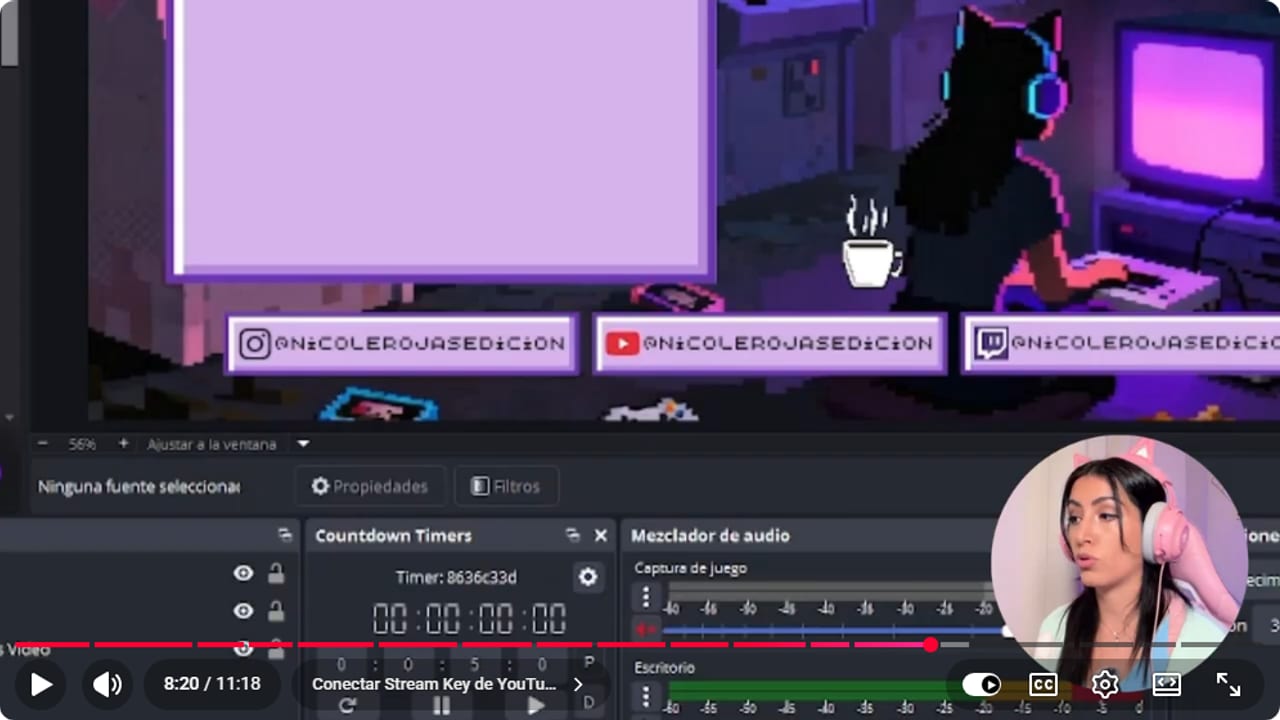
The OBS scene is checked before its signal is sent to the YouTube event. YouTube · 8:21 ↗ - 08
Schedule the stream so people show up
Nicole Rojas · YouTube · 8:36 ↗Go to Manage (or Schedule) and click Schedule stream. Fill in the same details as before, choose software, webcam or mobile, and under Visibility set the date and time. Keep it Public so it shows up in people's feeds and they can set a reminder. Now the important bit: a scheduled stream doesn't start on its own. At start time, open Manage and click Start stream yourself. If you're going to multistream with Twitch later, start right on the scheduled time. Even a few minutes late can stop the multistream app from connecting.
What you should see: Manage lists your scheduled stream as Public, with the date and time you picked.
If something does not work
- There's no option to go live
- Go to Settings, Channel, Feature eligibility and verify your phone under Intermediate features, as in the video. If you don't see that menu, use Verify your YouTube account in YouTube Help. YouTube also blocks channels with a live streaming restriction in the past 90 days, and you must be at least 16.
- Your face popped up and you thought you were already live
- Relax, same thing happened to me. Opening Go live only shows you the options and a preview. You're not broadcasting until you click Go live on the final screen.
- The scheduled stream didn't start on time
- YouTube won't start it for you. Open Manage, select the stream and click Start stream.
- Your stream key leaked
- On the stream page, click Reset next to the key and YouTube generates a new one. Paste it into OBS under Settings, Stream, and keep it out of every screenshot.
- Multistreaming with Twitch won't connect to YouTube
- Start the YouTube stream exactly at the scheduled time, when you go live on Twitch. Starting even a few minutes late can stop the multistream app from connecting.
Test before you go live
- Live streaming is switched on for your channel.
- Your title says what you're streaming and the thumbnail is uploaded.
- Visibility is right: Private for testing, Public for your audience.
- Your stream key isn't visible in any screenshot or on screen.
- You ran a Private test and both your voice and the game are audible.
- If you scheduled the stream, you remember that you start it. And that's it, go stream.
Cómo hacer directos en YouTube desde cero
Watch the full tutorial (in Spanish) ↗Common questions
How long does YouTube take to enable live streaming?
In the video, Nicole says the phone-code verification is pretty quick. YouTube's requirements page doesn't give a wait time. Use the time to prepare your title, thumbnail and OBS scene so you're ready.
Should I use a webcam or OBS?
Webcam is the quickest option if you're just talking to camera. OBS gives you control over your overlay, sound, camera position, game capture and transitions, so it's the one to use for gaming.
Does a scheduled stream start automatically?
No. At the scheduled time you have to open Manage and click Start stream. Scheduling exists so people see it in their feed and can set a reminder.
Public, Unlisted or Private?
Public is visible to everyone, and it's what a scheduled stream needs to appear in feeds. Unlisted is only for people with the link, and Private is just for you, which makes it perfect for a test.
Can I upload several thumbnails like on regular videos?
Regular videos let you upload three thumbnails and YouTube tells you which performs best, but live streams only take one. Choose carefully. The classic scared face with the game behind you is a classic for a reason.
What does YouTube require before you can go live?
A verified channel, usually through your phone number, and no live streaming restriction in the past 90 days. YouTube's current help page also says you must be at least 16 years old to live stream.


