
Short answer
Before you start
- An email address or a mobile number to create your Twitch account (Nicole starts with a Google account), plus your social accounts if you already have them
- A username that's free on Twitch and on your socials
- OBS installed on your computer
- A profile photo and a banner image with no text in the middle
Bring your setup to a 24/7 AI Streamer Coach
Ask Streamer Coach →Get personalized feedback to fix streaming issues and plan your next content.
Step by step
- 01
Plan a week you can actually keep
Watch this step on YouTube · 2:02 ↗If you start by streaming every single day, you may get worn out and quit after a month. So we start with the plan: it's better to begin with less and add more later. Nicole shows a sample week: Monday to plan content and check which games are trending, Tuesday to record intro, outro and thumbnails, Wednesday the main stream, Thursday to edit clips, Friday a second stream or collabs, Saturday rest or a casual stream if you want, and Sunday overlays and stats. Two streams a week is plenty to begin.
What you should see: Your calendar shows two stream days marked and the other days set aside for planning, editing and rest.
- 02
Sign up with the same name as your socials
Watch this step on YouTube · 5:00 ↗Get your Google, Facebook and Instagram accounts ready first, and TikTok if you have the energy. On Twitch, click Sign Up and enter a username, password and date of birth. Nicole uses her phone number. Today Twitch lets you sign up with an email or a mobile number (no landlines or VOIP), or with Google, Apple or Amazon. Try to use the same username everywhere so followers can recognize you on any platform. Take your time picking it, because Twitch only lets you change it again after about two months.
What you should see: Twitch shows the Select interests screen for your brand-new account.
- 03
Add a profile photo, banner and bio
Watch this step on YouTube · 5:35 ↗Click your profile picture, open Settings, and under Profile Picture upload a photo under 10 MB. Using the same one as on your socials helps people recognize you. Canva has gaming channel templates for the banner. Pick an image without text in the middle, since that part can get covered. In Bio, say which games you play and a bit about your personality, in a few lines.
What you should see: Your channel's About tab shows the new photo, banner and bio.
- 04
Turn on VODs, clips and raids
Watch this step on YouTube · 8:28 ↗Go to Creator Dashboard, Settings, Stream. Turn on Store past broadcasts so people can watch your earlier streams. Then enable clips, which you can limit to followers, and for clips shown in search you can pick featured clips only, which gives you more control. Further down, decide whether other channels can raid you. Option names and storage length change, so check Twitch's help page for how many days VODs are kept today.
What you should see: The Stream settings page shows Store past broadcasts switched on and the clips section set to the filter you chose.
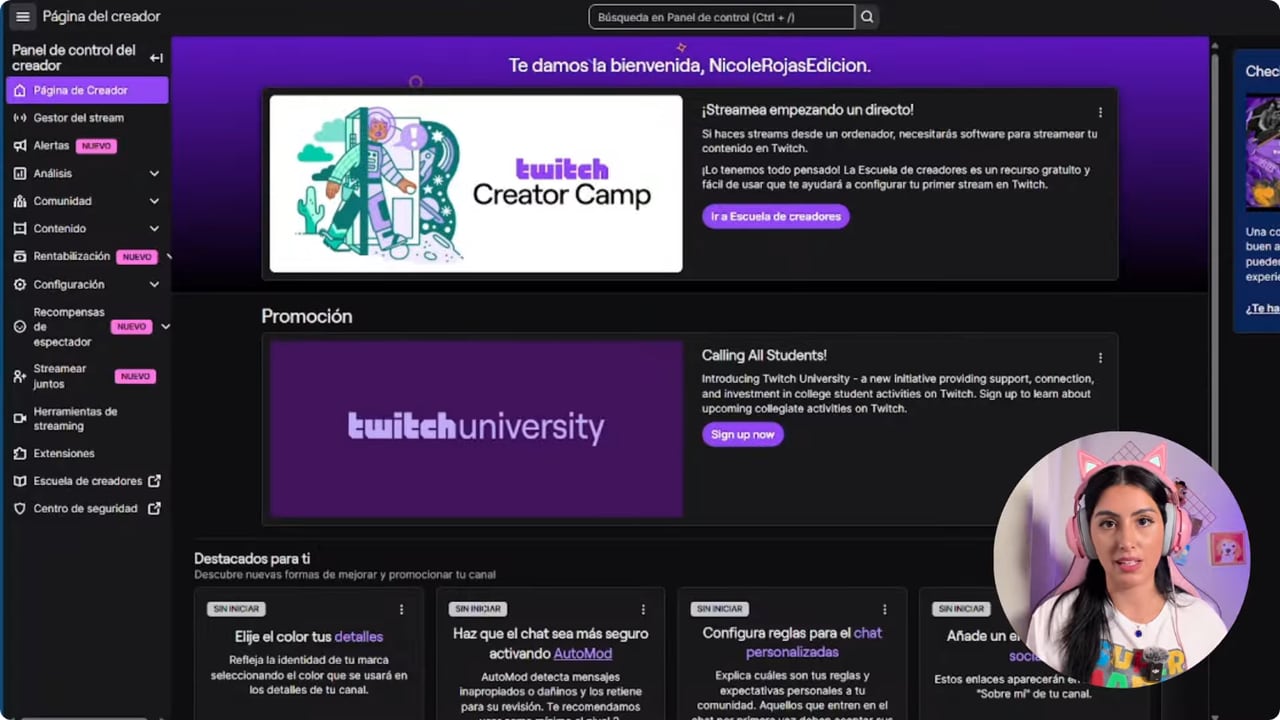
The tutorial reviews VOD storage, clips, and other stream controls. Check current Twitch help for the latest policy. YouTube · 8:28 ↗ - 05
Switch on AutoMod, verification and rules
Watch this step on YouTube · 9:40 ↗In Settings, Moderation, turn on AutoMod, which removes known offensive messages before they reach chat, and choose what to filter. You can block hyperlinks. Under channel privileges, require a verified email and a verified phone number, and exempt your moderators. Then add short chat rules: be respectful, no spam, no spoilers. Nicole says this is very important, especially for women, because there are plenty of people online who say horrible things.
What you should see: Chat Rules lists the rules you wrote, and AutoMod shows the filter level you picked.
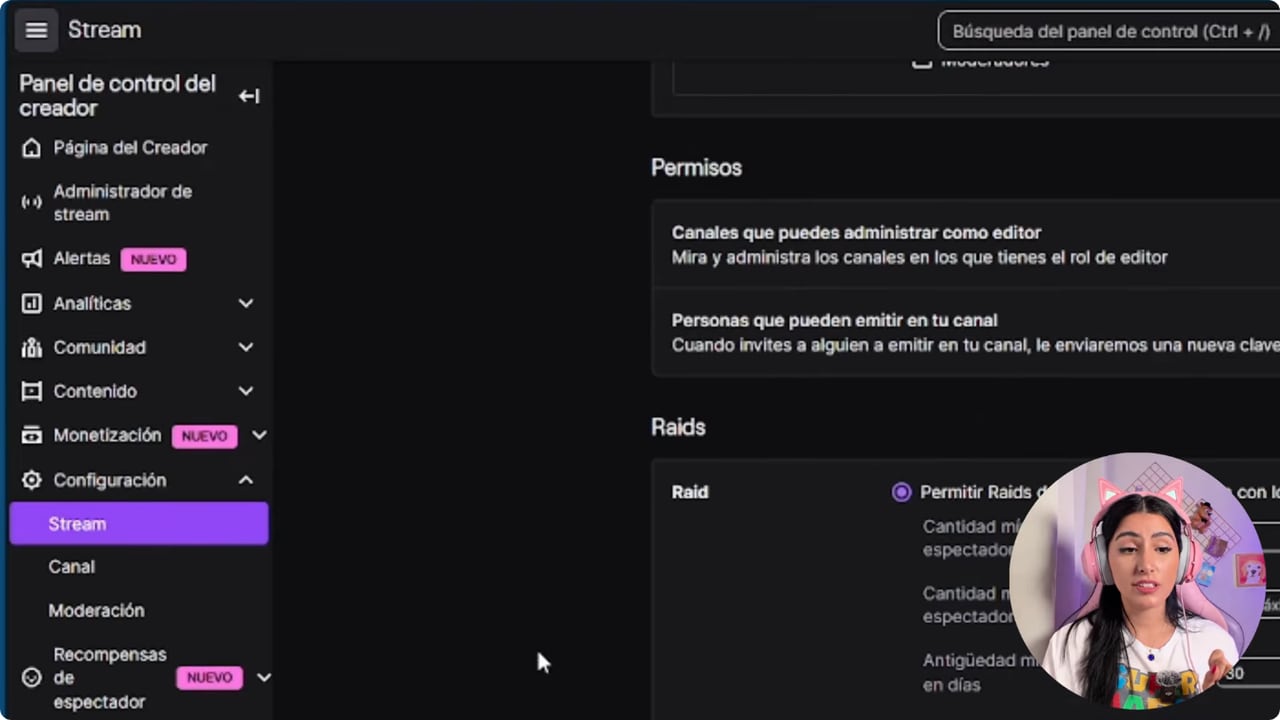
AutoMod and chat rules are configured before inviting viewers to the first stream. YouTube · 9:38 ↗ - 06
Set the title, category, language and tags
Watch this step on YouTube · 13:20 ↗Open Creator Dashboard, Stream Manager, and under Quick Actions at the bottom click Edit Stream Info. Add the title and the notification your followers get. The category is the game or activity, and it's what helps new viewers find you. You can add up to 10 tags, such as new streamer or the language you speak. Choose the stream language and mark content classification if the game is mature or has violent imagery.
What you should see: The top of Stream Manager shows today's title, category and tags, not the ones from your last stream.
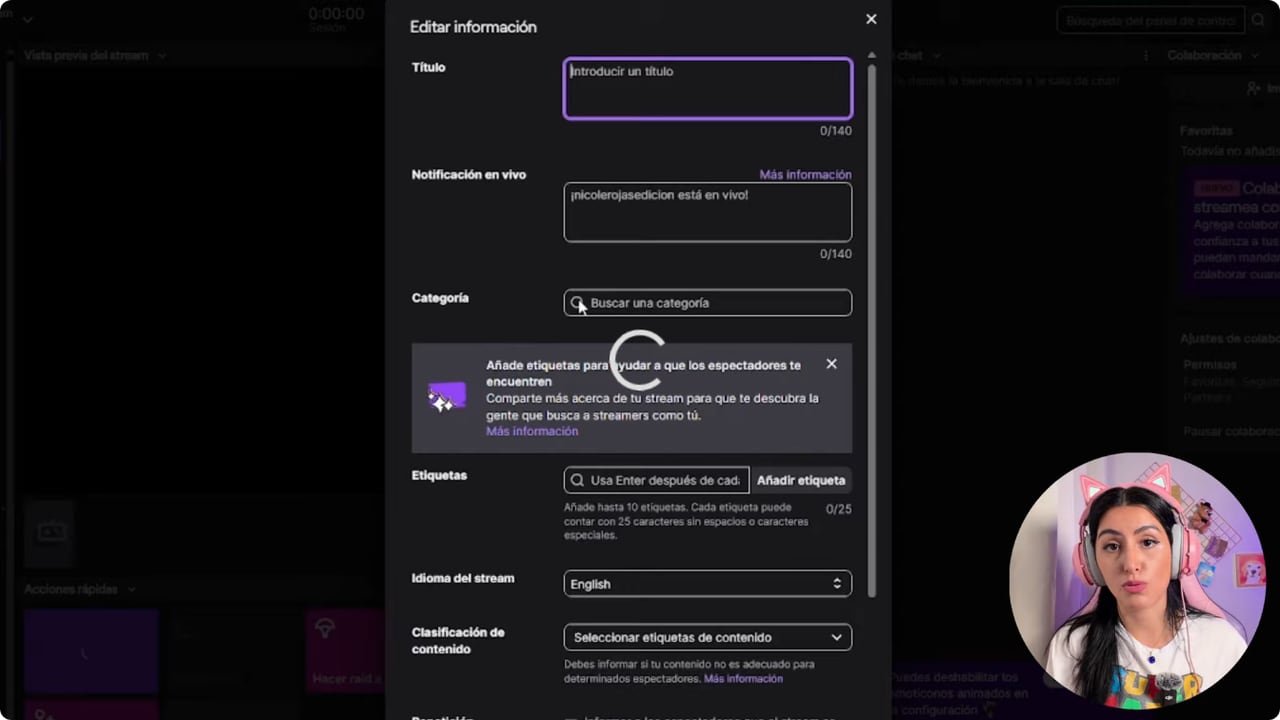
The tutorial view shows the fields for checking title, category, language, and tags. YouTube · 13:20 ↗ - 07
Build the essential panels
Watch this step on YouTube · 14:30 ↗On your channel, open About, scroll down and click Edit Panels. You can make text or image panels, and images are scaled to 320 pixels. The must-haves are About me, schedule, social links and chat rules. A panel about your gear can wait until someone asks.
What you should see: Your new panels sit side by side under the video player.
- 08
Use your phone as a second screen
Watch this step on YouTube · 16:14 ↗In your profile, Settings, Notifications, turn on new followers, subscribers and raids, and read the rest to see which ones you'll use. Then install the Twitch app on your phone. With one monitor, that's where you'll read chat and moderate yourself when nobody's around to help.
What you should see: The phone app shows your channel's chat while OBS streams from the computer.
- 09
Continue with OBS in our other guide
Guide: How to configure OBS for streaming in 10 minutes ↗This video doesn't cover OBS. To connect Twitch to OBS, follow our guide How to configure OBS for streaming in 10 minutes, at the step where you connect your account. Then come back here for your first stream.
What you should see: In OBS, Settings, Stream shows your Twitch account as connected.
- 10
Do your first stream and stay consistent
Watch this step on YouTube · 17:21 ↗Don't obsess over numbers: you stream because you like playing games and talking to an audience, not only for the figures. Be consistent. One stream a week, kept up, isn't the same as five streams and then vanishing. Interact with your chat and reply to people. And be authentic: your first streams will make you a bit nervous. If nobody's watching, even better, because you're practicing. Setting Twitch up properly from the start saves you a lot of headaches later.
What you should see: Your channel's Videos tab shows the VOD of your first stream at its full length.
If something does not work
- Twitch won't let you use your usual name
- It happens with common names, it happened to me. Try a short variation you can use on every platform, without hard-to-remember numbers. Double-check it before saving, because changing it again means waiting about two months.
- The banner text gets covered
- Twitch places elements over the middle of the banner. Use an image with no text that shows the channel's look, and put the important information in your bio and panels.
- Chat fills with bots or nasty comments
- Turn on followers-only mode until the wave passes, and check that AutoMod and phone verification are on. If you have friends you trust, make them moderators, since they react faster than any filter.
- AutoMod removes normal messages
- Lower the filter by one level and review your blocked terms. It's trial and error, and nobody gets it perfect on day one.
- You have one monitor and can't see chat
- Install the Twitch app on your phone and keep chat open there. You can also moderate from the app if nobody's around to help.
Test before you go live
- Your Twitch username matches your Instagram and TikTok.
- Opened in a private window, your channel makes it clear who you are and what you play.
- AutoMod, phone verification and chat rules are on before you invite anyone.
- Today's stream has its own category and tags.
- You turned on notifications for new followers, subscribers and raids.
- Your phone is charged and has chat open.
Mega tutorial: configurá tu cuenta de Twitch desde cero
Watch the full tutorial (in Spanish) ↗Common questions
How many days a week should I stream when I start?
Two streams a week is enough to begin. If you go live every day from the start, it's easy to get worn out and quit after a month. Start with less and add more.
Which panels does a new Twitch channel need?
About me, schedule, social links and chat rules. Add a gear panel if you have time, since chat often asks about your camera and lights.
Can I change my username later?
Yes, but Twitch makes you wait about two months between changes. That's why it's worth picking it carefully and matching your Instagram and TikTok handle.
Can I moderate chat with just one monitor?
Yes. The Twitch phone app lets you read chat and moderate while your computer runs the stream. A friend acting as moderator is even better.
Which tags should I use as a new streamer?
Tags that say what you do and which language you speak, like new streamer or your language. You can add up to 10, and they're one of the main ways new people find you.


