

Short answer
Before you start
- OBS 28 or newer on Windows 10 (version 2004 or later) or 11, with the Application Audio Capture (beta) source
- Discord, your game and your music open
- Headphones to check the mix
Bring your setup to a 24/7 AI Streamer Coach
Ask Streamer Coach →Get personalized feedback to fix streaming issues and plan your next content.
Step by step
- 01
See how audio comes by default and pick the right devices
Watch this step on YouTube · 1:36 ↗Ever turned down the game and turned down your own voice with it? That's because OBS starts with two channels: Desktop Audio, which grabs everything your computer plays, and Mic/Aux, your voice. Game, music and Discord all come in together.
Go to Settings, Audio. Under Mic/Aux, pick the mic you actually use, since there's usually more than one. For Desktop Audio, choose the same output Windows uses: check the sound icon, More volume settings. If you're not sure, play a song and see where it comes out. If you plan to record, also switch Settings, Output to Advanced: the Recording tab shows the six audio tracks you'll use at the end.
What you should see: Settings, Audio shows your mic's name under Mic/Aux and the same output Windows uses under Desktop Audio.
- 02
Split out the music with Application Audio Capture
Watch this step on YouTube · 3:31 ↗In Sources, click the plus and choose Application Audio Capture (beta). Name it something like Music and pick the app's window. I use the NCS site in Chrome, which is copyright-free music. Below you'll see the window match option: make the title have to match every time, so you don't end up capturing another window you have open.
What you should see: Music shows up in the mixer with its own bar, which moves when the song plays.
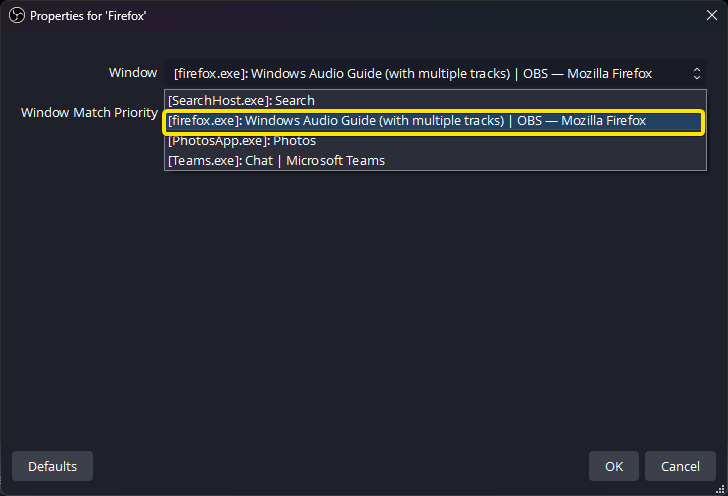
OBS documentation shows where to choose the application that will have its own audio source. OBS documentation ↗ - 03
Set the level in the mixer: red, yellow and green
Watch this step on YouTube · 5:06 ↗Hit play on the song and watch that source's bar in the mixer. If it reaches red, it's too loud for your audience, so bring it down to yellow. That control moves only that source, so lowering the music doesn't touch your voice or the game. With Spotify, choose to match a window of the same executable and it picks up the app directly.
An extra that isn't in the video: record a minute as a test and listen back with headphones.
What you should see: The Music bar stays out of the red and the other sources stay at the levels they had.
- 04
Split Discord into its own channel
Watch this step on YouTube · 5:43 ↗Discord works exactly the same way. Click the plus, choose Application Audio Capture (beta), call it Discord and confirm. Find the Discord app, make the title have to match and confirm. When your friends talk, you'll see that bar's peaks jump, and if they're too high you turn them down yourself without asking anyone.
What you should see: Discord shows up in the mixer as a separate bar, and it only jumps when your friends talk.
- 05
Split out the game audio
Watch this step on YouTube · 6:21 ↗You have two options. The first is the same as before: another Application Audio Capture, call it Game sound and select your game.
The second saves you a source. When you add a Game Capture, choose Capture specific window, since full screen works some days and not others, select the game and tick Capture Audio (BETA). That checkbox needs OBS 30.1 or newer. The game's sound shows up in the mixer under that capture's name. You can delete the earlier audio source so you don't get confused.
What you should see: The mixer shows a bar named after your Game Capture that moves with the game and stays still when Discord talks.
- 06
Disable Desktop Audio
Watch this step on YouTube · 7:57 ↗Once every channel is set up, go to Settings, Audio, and set Desktop Audio to Disabled. Leave it enabled and it keeps capturing everything on your screen, so it all plays twice. Your chat will let you know. Do this only once every channel is built, or you'll end up with no sound.
What you should see: Desktop Audio is gone from the mixer, and you see game, music, Discord and mic, each with its own bar.
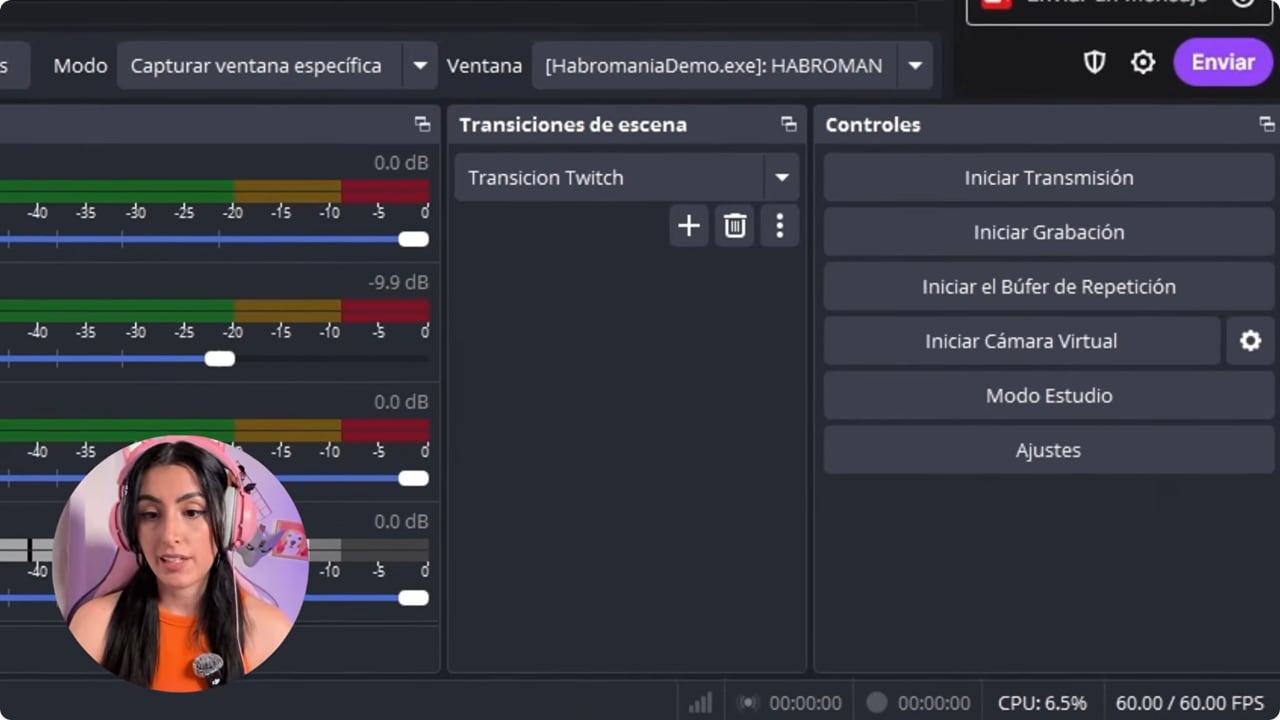
Desktop Audio is disabled after confirming that the dedicated sources work. YouTube · 8:15 ↗ - 07
Get your alerts back
Watch this step on YouTube · 10:12 ↗If you disable desktop sound, your alerts go quiet. Find the browser source where your alerts live, open its properties and tick Control audio via OBS. Confirm and Alerts shows up in the mixer. Then in that source's gear, open Advanced Audio Properties and under Audio Monitoring choose Monitor and Output instead of Monitor Only. That way you control this sound like the others.
What you should see: Alerts shows up as one more bar in the mixer and moves when an alert fires.
- 08
Copy the audio sources to every scene
Watch this step on YouTube · 11:08 ↗You'll need these sources in every scene. Select the ones with the application audio capture icon and press Ctrl + C. Go to the next scene, click inside the Sources list and press Ctrl + V. When you switch scenes, they show up in the mixer.
What you should see: When you switch scenes, the mixer keeps showing the game, music and Discord bars.
- 09
Send each source to its own track and record in MKV
Watch this step on YouTube · 11:44 ↗This one is for recording more than streaming. In a source's gear, Advanced Audio Properties, you'll see the tracks. In the video, Nicole leaves the game capture only on track 2 and Discord only on track 3, and so on, so each source records to a different track.
One catch: per OBS, track 1 is the live feed by default, so a source you untick from track 1 stops playing on the stream. If you record and stream at the same time, leave every source ticked on track 1 and add one extra track per source. If you turned on Twitch's VOD track (track 2 by default), separate on tracks 3 to 6 and keep every source you want in the VOD ticked on track 2 too (OBS's example leaves out only the music).
Then in Settings, Output, Recording, tick every track you use. Leave the format on MKV and in Advanced turn on Automatically remux to MP4. Recording straight to MP4 is risky: if the power cuts out or your computer freezes, the file is gone. With MKV, whatever happens, you keep a usable file.
What you should see: When you stop recording, an MKV and its MP4 copy sit in your recordings folder, and an editor shows several separate audio tracks.
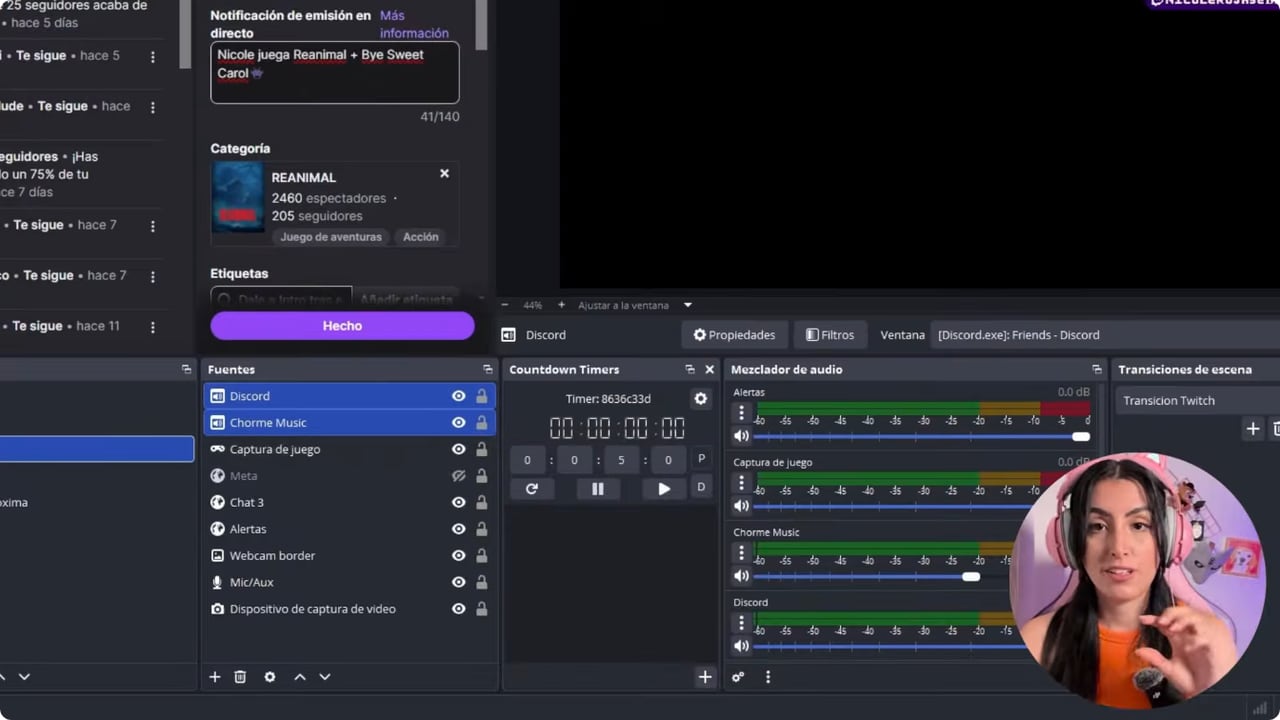
Source rows and tracks can preserve one full mix alongside separate signals. YouTube · 12:15 ↗
If something does not work
- An app isn't coming through its source
- Open the app before selecting it, because OBS only lists what's running. Check that the window match points to the current title. If the title keeps changing, like Spotify with each song, match by executable instead.
- All your sound suddenly disappeared
- You disabled Desktop Audio before building every source. Turn it back on, create the captures you're missing, and only then switch it off again.
- Chrome music mixes with another tab
- The source is matching by executable. Change it so the title has to match, and pick the exact tab.
- The game doesn't play through its own channel
- If you're using the Game Capture checkbox, make sure the mode is Capture specific window and Capture Audio is ticked. Full screen hooks some days and not others.
- Your player shows only one track
- Most media players only play track 1. Open the file in an editor that reads multiple tracks and mute one at a time to confirm they stayed separate.
- A source stopped playing on the stream
- Check whether you unticked it from track 1 in Advanced Audio Properties. Track 1 is the live feed by default, so it has to stay ticked on every source.
Test before you go live
- Turning down the game leaves your voice where it was.
- Muting Discord doesn't cut the music or the game.
- Nothing plays twice in a test recording.
- Alerts play on stream and in your headphones.
- Every scene has the same audio sources.
- Recordings save as MKV with an MP4 copy.
Cómo separar audio en OBS: juego, Discord y micrófono
Watch the full tutorial (in Spanish) ↗Common questions
Do I need virtual cables or extra software to separate audio?
No. Application Audio Capture comes built into OBS and links each source to one program. There's nothing else to install.
Why does chat say everything sounds doubled?
Desktop Audio is still on and captures again what already comes in through each app. Disable it in Settings, Audio, once you've checked all your sources work.
Why did my alerts stop playing?
They used to come in through Desktop Audio, which is now off. Tick Control audio via OBS on the alerts browser source and set it to Monitor and Output in Advanced Audio Properties.
Does this work on Mac?
The Application Audio Capture source is Windows-only. On macOS 13 or later, OBS 30 or newer has the macOS Audio Capture source, which captures all desktop audio or just one application. With OBS 28 or 29 you use macOS Screen Capture, which also captures audio. The menus differ from the ones in the video.
Why bother with tracks if I only stream?
For streaming, everything goes out on track 1 and you don't need to touch anything. Tracks matter when you record, because you can raise your voice or lower the game in the edit. If it's all on one channel, that can't be fixed later.


